After completing the installation and activation of Yatra 2Checkout add-on. Please go to Yatra -> Settings -> Payment and you will see the Payment Gateways option there. Please check 2checkout there save it and go to 2Checkout subtab of the payment tab. You will find the stripe configuration there.
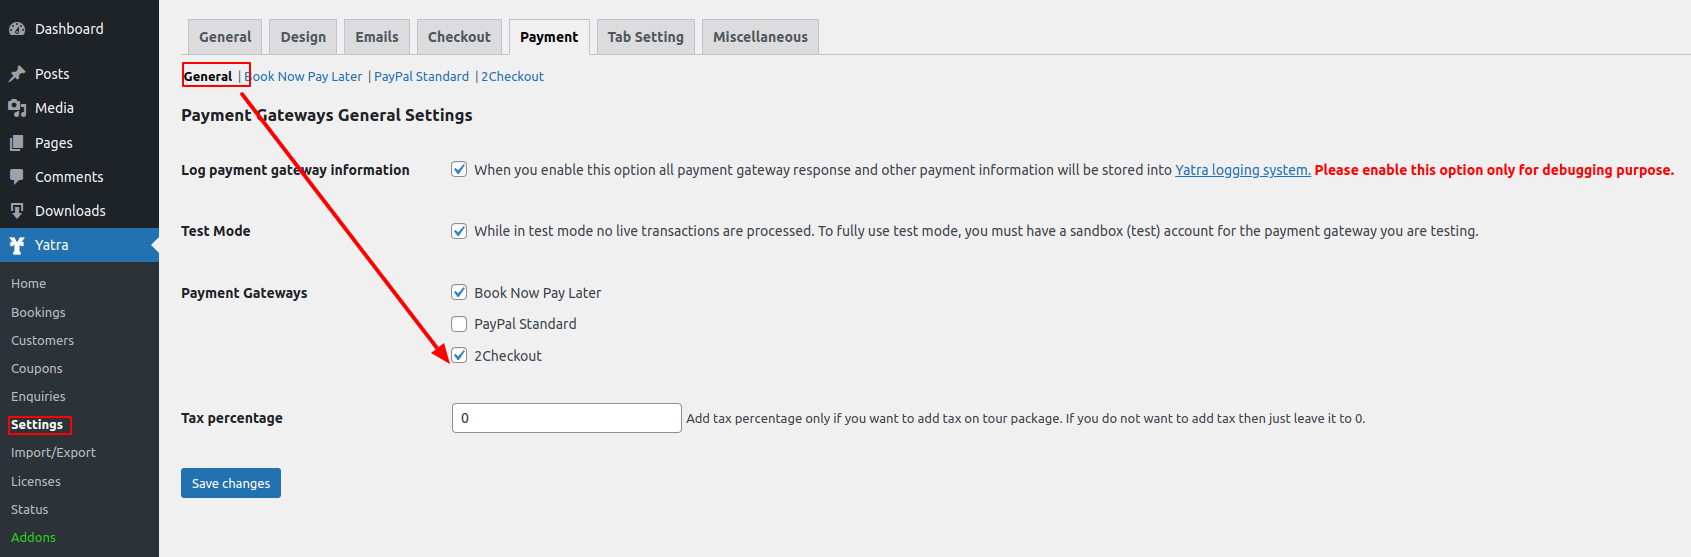
While testing the payment gateways you have to enable testing mode on the yatra plugin from payment -> test mode. Please enable only to perform test transactions. You have to disable it to perform live real-time transactions.
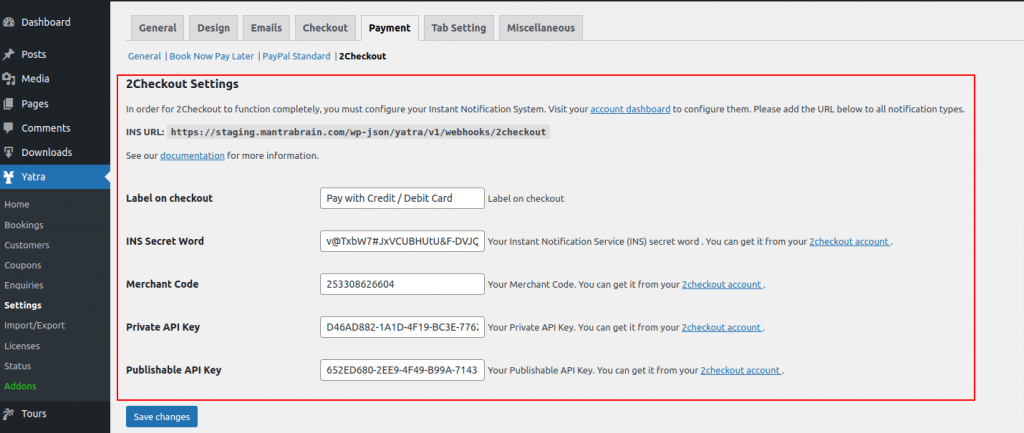
INS URL: You have to set up a webhook endpoint to get back a response from 2checkout account. If you missed this setup you can get paid but you will not be able to get a response from 2checkout to the yatra plugin. You can add this INS URL to your 2checkout account.

Please copy the webhook and create a webhook on 2checkout with that copied URL. This is an example webhook shown on the following screenshot. http://localhost/WordPressPlugins/wp-json/yatra/v1/webhooks/2checkout, You can copy it from your INS URL section.
Please enable at least one Trigger list from the list. You have to enable Order Created trigger to get back a response from 2checkout.
Label on checkout: This is the payment gateway label on checkout. What you write here will appear on the checkout process of tour packages.
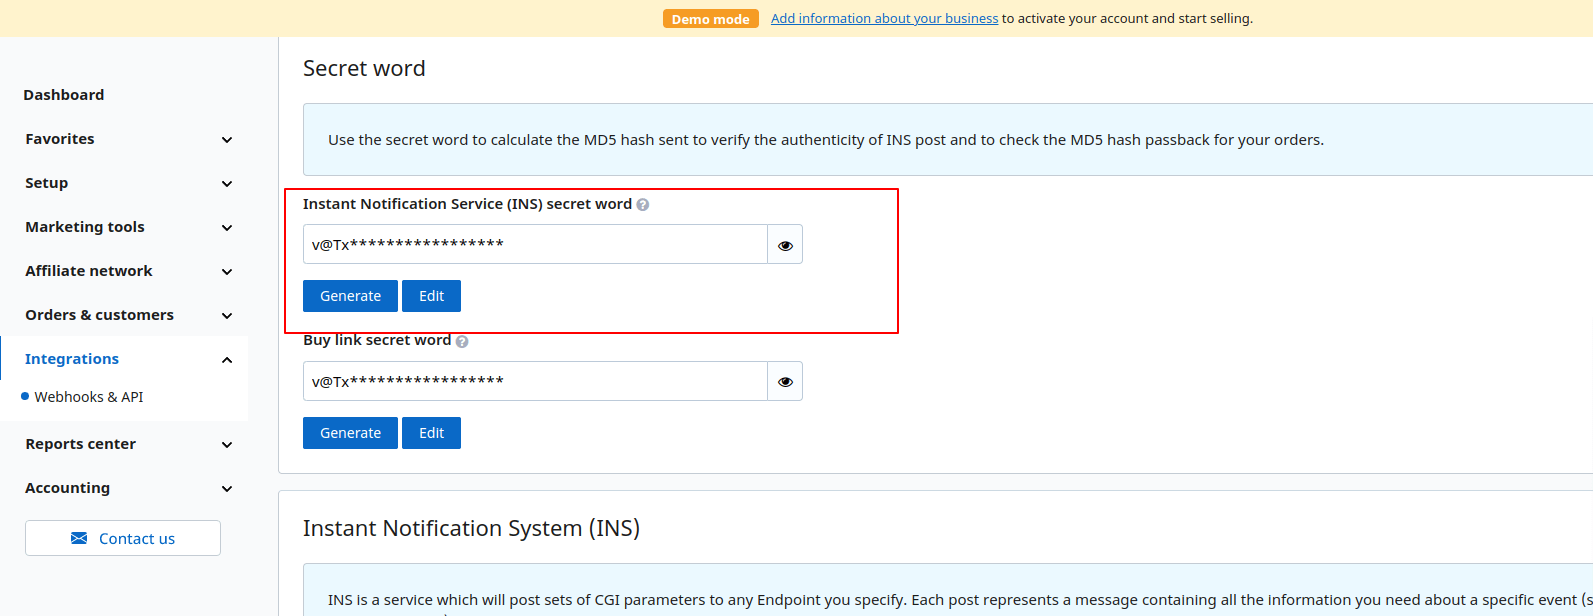
INS Secret Word: This is a secret Word from 2checkout account and You can get it from your 2checkout account.
Merchant Code: This is the merchant code and you can get it from your 2checkout account.
Private API key: This is a private API key of a 2checkout account. You can get it from your your 2checkout account.
Publishable API Key: This is a publishable key to perform the transactions with yatra and 2checkout. You can get it from your 2checkout account. You have to add this key to process checkout on the yatra plugin.